2.jpg)
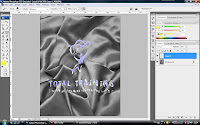
First exc for tutorial 6
Modify (i used the brush tool to apply some color to the image background)
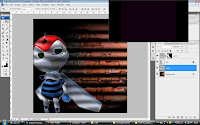.jpg) Second exc for tutorial 6
Second exc for tutorial 6Modify (i used the magic select tool to deselect the background i don't need then mix in the tutorial.)
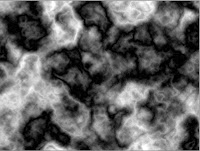
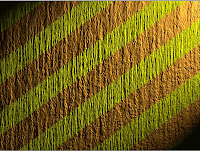
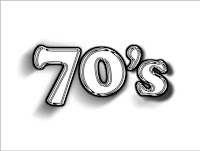
First of all, open a new layer and renamed it as marble. then, make the cloud effect and change the input level, change the color.
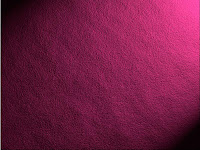
After that, make some lighting effect. Now, click render and choose lighting effect, reverse the big circle. Then, change gloss to -100, change ambient -3, change texture channel to alpha 1 and make 14 mountainous.
The step now is to create a new layer , then go to channel and click on alpha 1 and add noise effect, make it gaussian and 8.79%. and then go back RGB and click on lighting effect, change the texture level as alpha 1 so, our picture now is looks more like a wall.
Create a new layer and named it as stone. Now, click to channel there and make the Fibers effect. Then make a light golden yellow color in channel. then make another layer and named it as wallpaper.
Then make the alpha 2 in channel there and put it as Gaussian blur. then, open the glass window and change the distortion less and increase the smoothness. Then click on lighting effect again, make the mountainous to 21.6th, now, we gonna put 70' inside our background. after put the 70', create a new channel and named it as alpha channel 3.
Then, go edit there click stroke. and make the width as 14 px. and make it gaussian blur also. Then, copy a new 70' and change the position of the 70'.7th, go to image and click on calculation and make the channel as alpha 3 and change the blending to differences. Then click ctrl+M to make the text have curve effect. then press ctrl+shift+I to change color from black to white.8th, by now, create a new layer again and named it as chrome edge.
Open the money picture, and make it 12.5 px gaussian blur and press ctrl+M to make the curves. Then, make the money inside the 70'. Finally, change to the blue color of whole picture.9th, resize the 70' and make it bigger. then, set the gaussian blur as 5.1px. Then use marquee tool to draw a rectangle. Then, make the feather selection as 5px. Then, click motion blur on it. Make it 101px. Then use the gradient display to make the shadow effect.
The last step for create the water background is use the Elliptical Marquee Tool to create the cycle and then go to Filter select the Rander and choose Cloud.After that Artistic select the Plastic Wrap adn apply it.
The last step for create the water background is use the Elliptical Marquee Tool to create the cycle and then go to Filter select the Rander and choose Cloud.After that Artistic select the Plastic Wrap adn apply it.

No comments:
Post a Comment