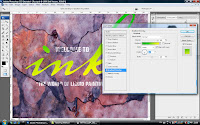
 1)Open the image file name ruster.psd,after that select Gradient Overlay.
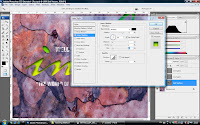
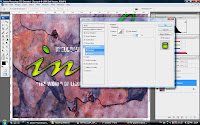
2)After select the Gradient Overlay,go to the gradient editor pick two color for the word content color,and adjust the color position from bottom to top.Drop Shadow, Outer Glow and use Global Light to edit the word and adjust settings to the way you feel suitable.And don't forget to select the Bevel & Emboss and make some additional modify for the word "ink".
3)After finish apply some effect and color for 'Ink"you will be able to save all the effect and color you apply just now into the style so that you can use it if you need it next time.
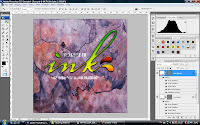
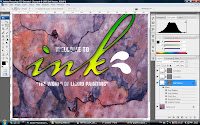
4)Come to the "ink splat"select the effect and color you save in the style there just now and click on the Gradient overlay from the layer just now and try to edit the color.Then drop the option selection from the layer and select Bevel & Emboss.Select the textual and apply the define patten you save just now.
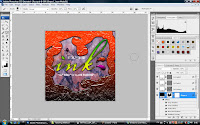
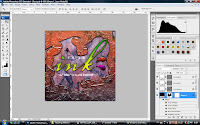
Then create the rectangle to cover all the background and then click the effect and color you save in the style just now.you will be able to see the background just now cover with black color will turn to different look.Come to the last step is use the brush tool to pain the background of the image and go to layel style and apply "Blend interior Effect as Group" and adjust the "fill Opacity"to the level you feel that is suitable.
No comments:
Post a Comment